

In the world of culinary artistry, it’s frequently enough the smallest details that transform a dish from delightful to unforgettable.Enter the tuile-a delicate, crisply baked garnish that adds not just texture but an elegant flair to any plate. Mastering crispy tuile garnishes is more than a pastry chef’s trick; it’s a dance between precision and creativity,where simple ingredients meet meticulous technique to create edible works of art. This article will guide you through the secrets of achieving that perfect golden crunch and sculptural beauty, turning humble batter into dazzling accents that elevate both taste and presentation. Prepare to uncover the artful crunch and stylish finesse behind mastering crispy tuile garnishes.
mastering crispy Tuile garnishes: Artful Crunch & Flair
Mastering crispy tuile garnishes unlocks a world of delicate textures and sophisticated flair, adding an unforgettable crunch to your desserts and plated dishes. Inspired by french patisserie tradition,tuiles are thin,crisp wafers that can be shaped and flavored endlessly-perfect for showcasing your culinary artistry.
Prep and Cook Time
- Preparation: 15 minutes
- Cooking: 8-10 minutes per batch
- Total Time: Approximately 30 minutes, including cooling and shaping
Yield
Yields approximately 12-15 medium-sized tuiles, depending on shaping technique.
Difficulty Level
Medium: Requires precision and timing but accessible with practise.
Ingredients
- 1/2 cup all-purpose flour,sifted
- 1/2 cup granulated sugar
- 1/4 cup unsalted butter,melted and cooled
- 2 large egg whites,at room temperature
- 1 teaspoon vanilla extract (optional for sweet tuiles)
- A pinch of fine sea salt
- Flavor Infusion Options: 1 teaspoon citrus zest (lemon,orange),1/2 teaspoon ground cinnamon,or finely chopped fresh herbs like rosemary or thyme
Instructions
- preheat your oven to 350°F (175°C). Line a baking sheet with a silicone mat or parchment paper to prevent sticking and ensure an even crisp.
- In a mixing bowl, whisk egg whites and granulated sugar until slightly frothy but not stiff-this ensures a light, crisp texture.
- Gently fold in the melted butter and vanilla extract (if using), taking care not to deflate the mixture.
- Sift the flour and salt over the wet ingredients and fold them in with a spatula until just combined. Avoid overmixing to keep the batter delicate.
- Incorporate any chosen flavor infusions, distributing evenly for bursts of herbal or citrus notes.
- Using a small spoon or offset spatula, drop teaspoon-sized dollops of batter spaced at least 3 inches apart on the prepared sheet.
- Spread each dollop thinly and evenly into a rough circle or desired shape (about 2-3 inches in diameter) to achieve that classic thin,crisp profile.
- Bake for 8-10 minutes, or until edges turn a gorgeous golden brown while the centers remain just lightly colored.
- Remove from the oven and promptly shape tuiles over rolling pins, bottles, or molds to create elegant curves or waves, working quickly before they harden.
- Allow shaped tuiles to cool completely on a wire rack to retain their flawlessly crisp texture before serving or storing.
Tips for Success: Expert guidance for perfect Tuiles
- Ingredient temperature matters: Use room-temperature egg whites for proper aeration and integration.
- Thin is key: The thinner you spread your batter, the crispier your tuiles will be. Keep them uniform for even baking.
- Timing is everything: Shape your tuiles immediately after baking while warm and pliable. Once cooled, they become brittle and unshapable.
- Flavor adaptability: Experiment with subtle herb or spice infusions to personalize your tuiles-mint and cardamom are delightful alternatives.
- Storage: Keep cooled tuiles in an airtight container at room temperature for up to 3 days to preserve crunchiness.
Serving Suggestions
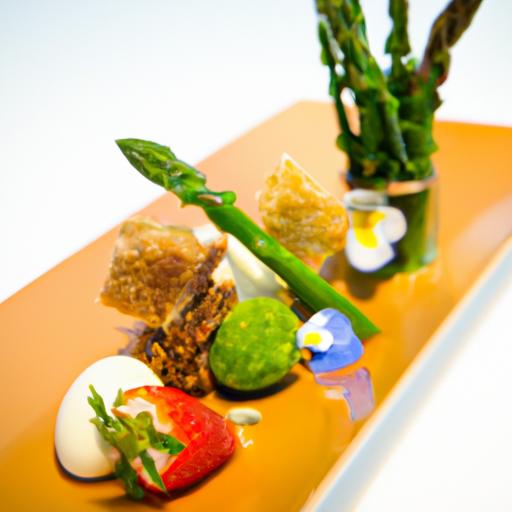
Use these crisp, delicate wafers to elevate your plated creations.Classic pairings include resting tuiles alongside silky custards, a quenelle of sorbet, or artfully garnished mousse cups. For an eye-catching flourish, interlace tuiles vertically in desserts for height and texture contrast.
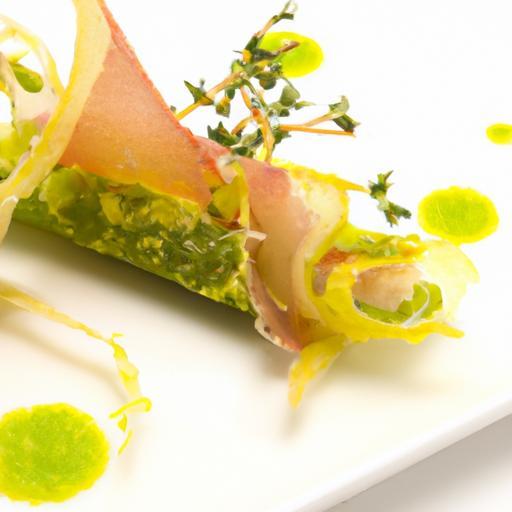
To showcase creative flavor infusions, consider rolling tuiles into slender cones and filling them with complementary mousse or fruit purées, turning simple garnishes into edible works of art. Garnish with a dusting of powdered sugar or edible flower petals for a refined finish.
Innovative Presentation Ideas for Artistic Crunch
- Tuiles as edible architecture: Craft geometric shapes or lattice patterns by layering and assembling multiple tuiles before serving.
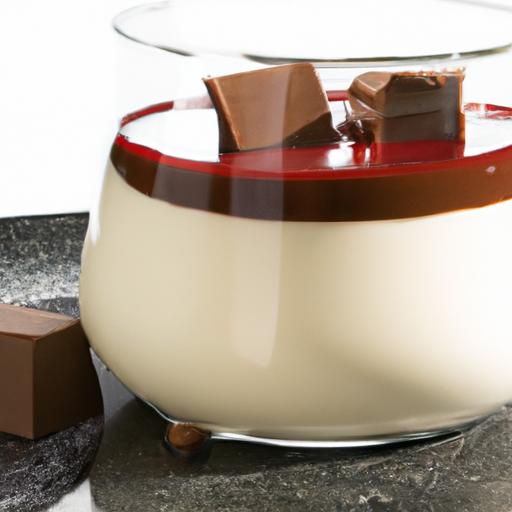
- Contrast textures: Pair tuiles with smooth or creamy elements, like panna cotta or semifreddo, to enhance both flavor and mouthfeel.
- Playful plating: Arrange tuiles in fan shapes or intertwine them on tall dessert glasses to add dramatic flair and textural intrigue.
| Nutritional Info (Per Tuile) | Calories | Protein (g) | Carbs (g) | Fat (g) |
|---|---|---|---|---|
| Classic Vanilla | 45 | 1 | 6 | 2 |
| Lemon Zest Infusion | 46 | 1 | 6 | 2 |
| Rosemary & Sea Salt | 47 | 1 | 5 | 3 |
Discover more about incorporating crisp textures in your desserts by visiting our Crispy Dessert Garnishes Collection. For detailed science behind baking thin crisps,explore expert resources at King Arthur Baking.

Q&A
Mastering Crispy Tuile Garnishes: Artful Crunch & Flair
Q1: What exactly is a tuile, and why is it prized in culinary presentations?
A tuile is a thin, crisp wafer-often delicately curved or shaped-that adds an elegant crunch and visual flair to desserts and plated dishes. Derived from the French word for “tile,” its smooth, golden surface resembles rooftop tiles, making it both a textural delight and a decorative masterpiece. Chefs prize tuiles because they elevate a dish’s artistry while offering a satisfying contrast between softness and crispness.
Q2: How do I achieve that perfect, paper-thin crispness without burning the tuile?
The secret lies in balance and precision. Thin your batter or dough evenly and spread it lightly across a silpat mat or parchment. Bake at moderate temperatures-usually between 325°F to 350°F (160°C to 175°C)-and keep a close eye. The tuile should turn golden with slightly browned edges, never dark or burnt. Removing it at just the right moment allows for a snap that’s both delicate and durable.
Q3: Which ingredients form the foundation of a classic sweet tuile batter?
A simple blend of butter, sugar, egg whites, and flour creates a silky base. Butter lends richness and aids in browning, sugar caramelizes for that golden hue, egg whites help with structure and crispness, and flour gives shape. Aromatic twists-like vanilla bean, citrus zest, or finely ground nuts-can transform a basic tuile into a signature garnish bursting with subtle flavors.
Q4: Can I create savory tuiles, and what are some creative flavor profiles?
Absolutely! Savory tuiles open a playground of possibilities. Try incorporating finely grated cheeses like aged Parmesan or sharp aged Manchego, herbs such as thyme or rosemary, or spices like smoked paprika. Bread crumbs or ground seeds can add rustic texture. These savory crisps beautifully enhance salads, soups, or mains with a crisp bite and an elegant note.
Q5: How do I form curved or sculptural tuiles that hold their shapes?
Work quickly when shaping; tuiles are pliable immediately after baking, then set rapidly as they cool. Use rolling pins, bottles, or custom molds to drape or curve the warm tuile over. Practice is key-each batter has its own flexibility window. For bold designs, experiment with varying thicknesses; thinner tuiles mold easier but are more fragile, while slightly thicker ones hold shape sturdier but require longer baking.
Q6: What common pitfalls should beginners watch out for when making tuiles?
Watch for overly thick spreading, which results in chewy or uneven textures. Baking to long or too hot leads to burnt or brittle wafers that shatter.Using too cold or too warm batter affects spreading and crispness. Lastly, shaping them after they’re fully cooled means they’ll snap instead of curve-timing is everything!
Q7: How can tuiles enhance not just taste but storytelling on a plate?
A tuile’s intricate patterns, shapes, and hues are an edible brushstroke. They can echo a dish’s theme-perhaps leaf-shaped for a garden-inspired dessert or lattice for a modernist expression. Their crunch introduces textural layers that surprise the palate, while their form adds height, depth, and drama. In this way, tuiles don’t just garnish; they narrate.
Q8: Are there any clever hacks for storing homemade tuiles to preserve their crispness?
Store tuiles in an airtight container separated by parchment paper to avoid moisture buildup and sticking. Keep them at room temperature in a dry place-humidity is the enemy of crunch. If they soften, a brief refresh in a low oven (around 275°F/135°C for a few minutes) will often restore crispness.
Q9: Can I use choice flours or gluten-free ingredients for tuiles?
Yes! Almond flour, coconut flour, or rice flour can be incorporated for gluten-free versions, though textures will vary. Almond flour imparts nuttiness and a tender bite, while rice flour crisps up nicely. Balancing liquid ratios and baking times may require experimentation, but the resulting tuile can delight both the eyes and special dietary needs.
Q10: What’s an inspiring first project for someone new to making tuiles?
Start with a classic sweet tuile enriched with a hint of citrus zest. Spread a thin round on parchment, bake to golden perfection, then gently roll it over a wooden spoon handle. pair it with a creamy panna cotta or velvety mousse. It’s a manageable introduction that rewards you with that satisfying crunch and elegant appearance-setting the stage for more adventurous shapes and flavors ahead.
Wrapping Up
As you embark on your journey to master the art of crispy tuile garnishes, remember that each delicate curve and golden hue tells a story of precision and passion. These slender, crisp accents do more than add crunch-they elevate your dishes with an elegant touch of flair that dances on both the eye and palate.With practice and creativity, your tuiles will transform from simple cookies into signature statements of culinary artistry. So, let your inventiveness shape each batter, and may your kitchen always be filled with that satisfying snap of perfection. Here’s to crafting tuile garnishes that captivate, delight, and inspire-one crispy masterpiece at a time.